SSL has been around for some time but it has recently gained importance for minor to major sites. Google has been making efforts to push webmasters into installing SSL on their websites whether or not sites exchange any important data with the visitor. However, SSL certificates used to come at a cost. Thanks to Let’s Encrypt, they made it possible for everyone to configure SSL on their sites without any purchase.
To encourage the customers, we too, provide SSL certificate by default to all domains hosted on our shared hosting plans. Alternatively, SSL can be installed using cPanel through these steps.
Step 1: Navigate to SSL/TLS Status
Log into your cPanel account with VapourHost and navigate to the item named “SSL/TLS Status” under Security group.
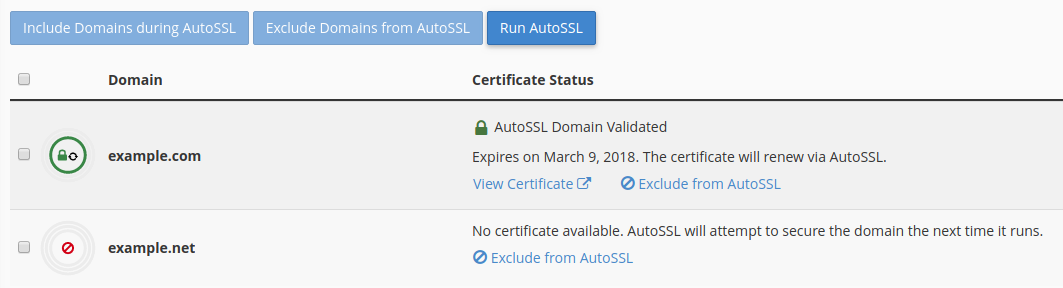
On this page, you’ll find all of your domains including addon domains as well as subdomains. Domains on which SSL is configured are marked with green while which isn’t is marked with red.
Note: Domains on which you are trying to install SSL must resolve to our server.
Step 2: Click “Run AutoSSL”
Once you’ve selected all domains, click “Run AutoSSL” button. Our system will now try to configure SSL on your domain. If it encounters an error, it’ll be shown on the same page.